Hinoka
Fire Emblem Fates
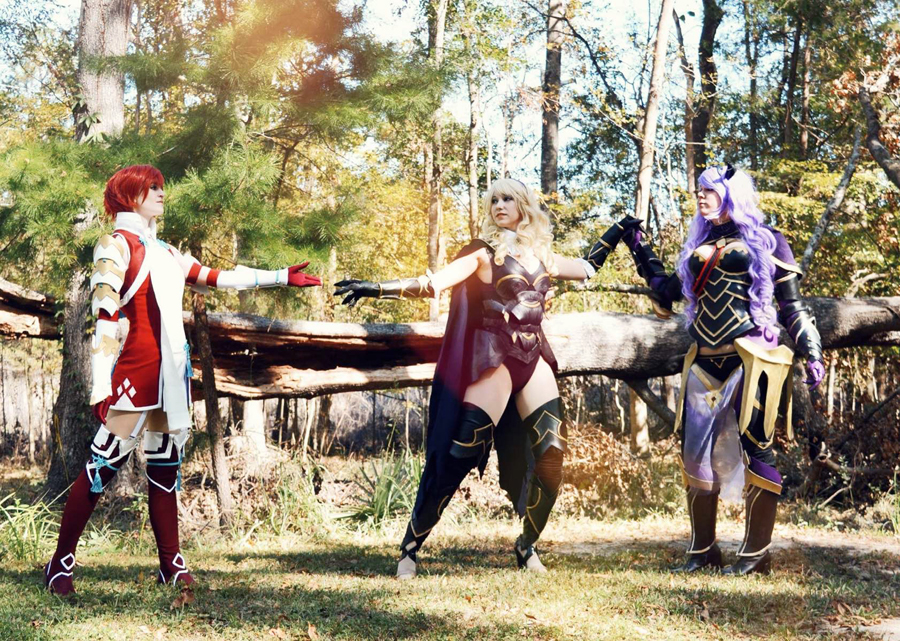
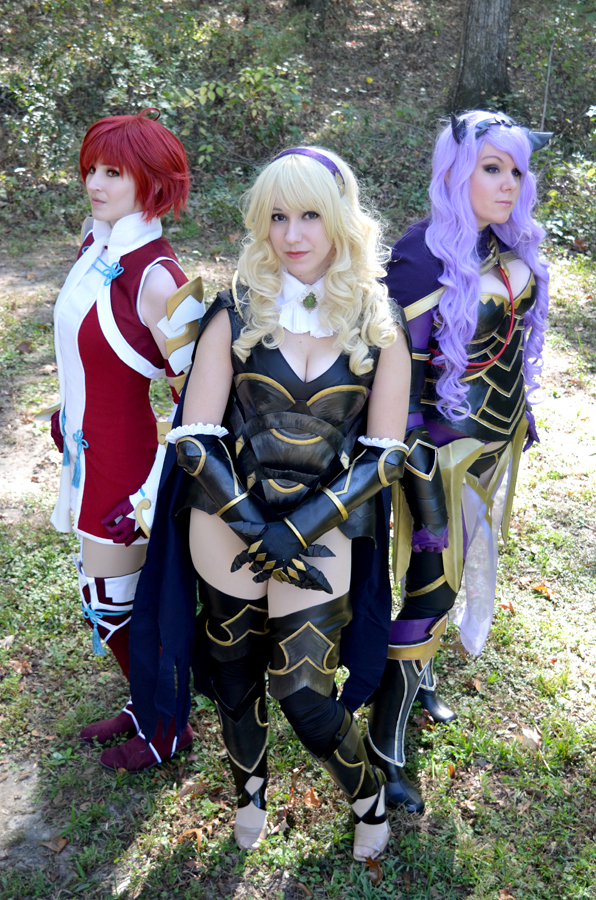
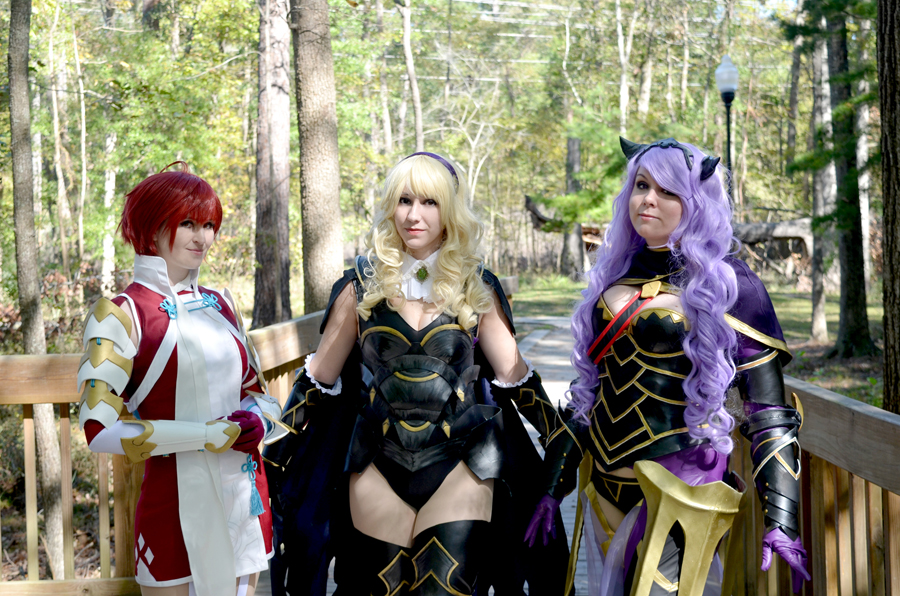
Inspiration: I played all three versions of Fire Emblem Fates earlier this year. It was my addiction for months and I knew I wanted to cosplay someone from the game. Hinoka stuck out to me because her design incorporated some of my favorite colors and I loved her personality.
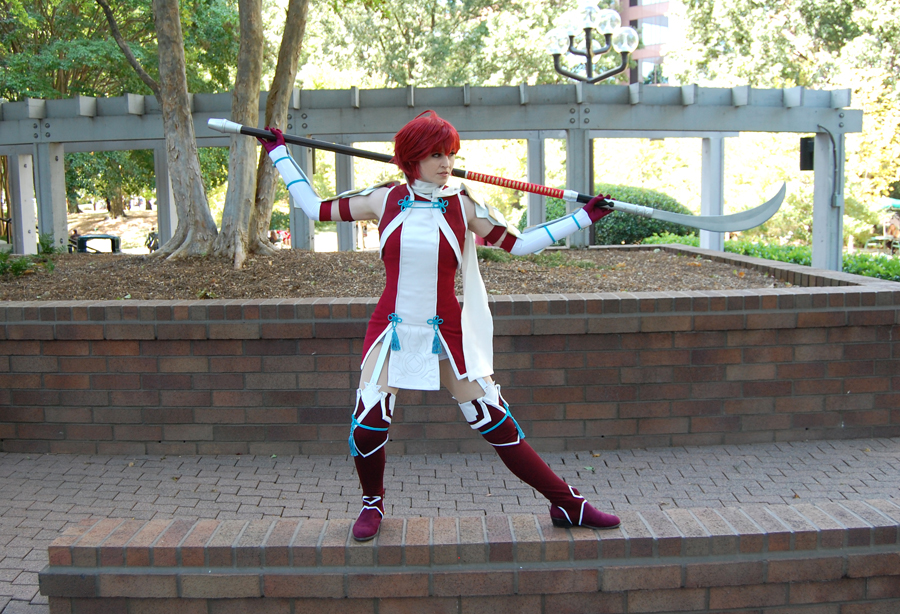
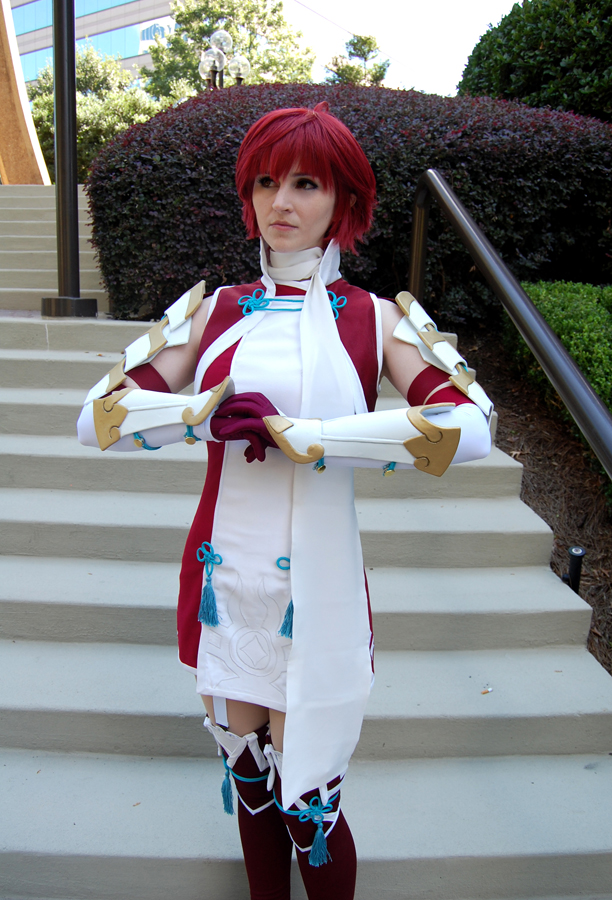
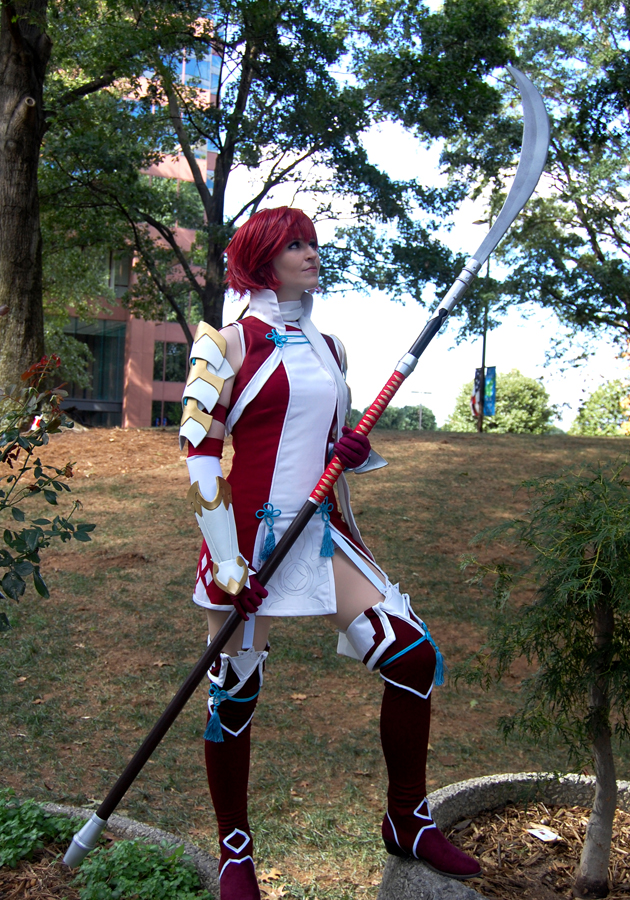
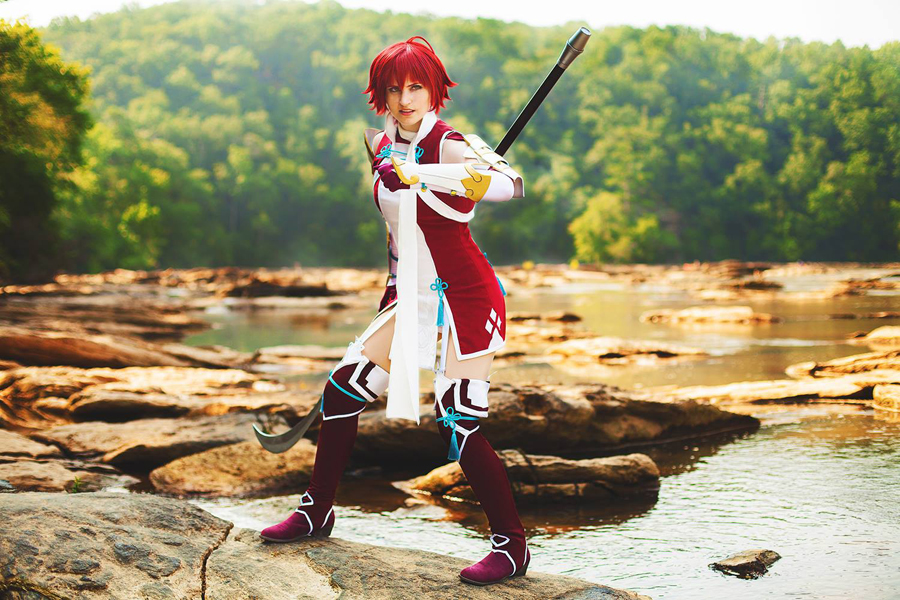
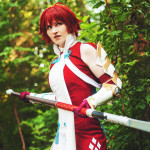
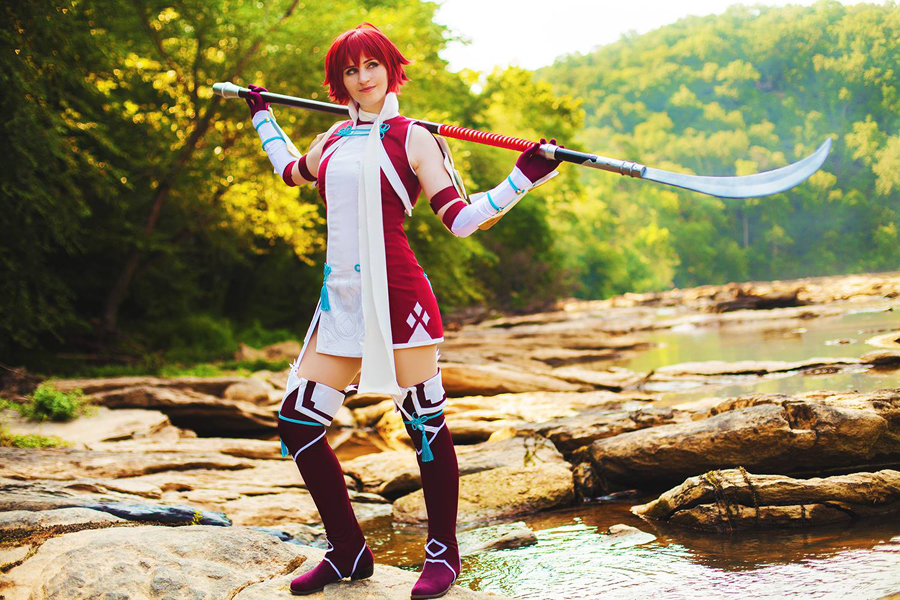
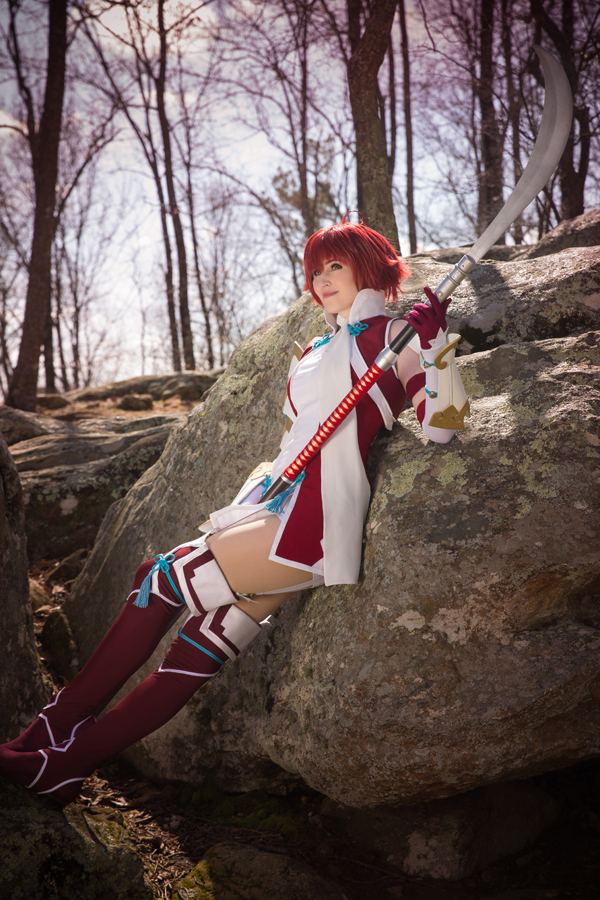
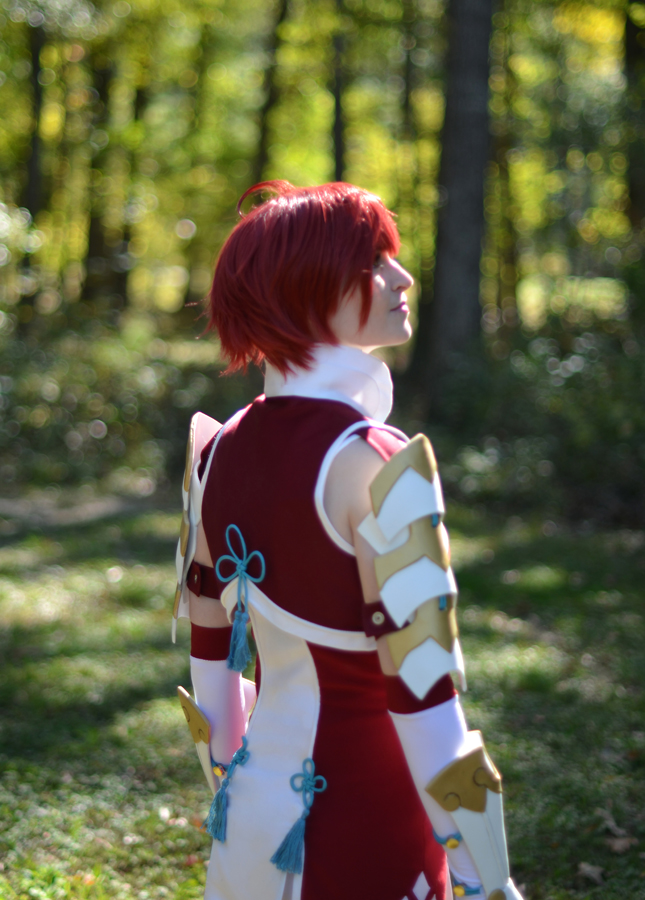
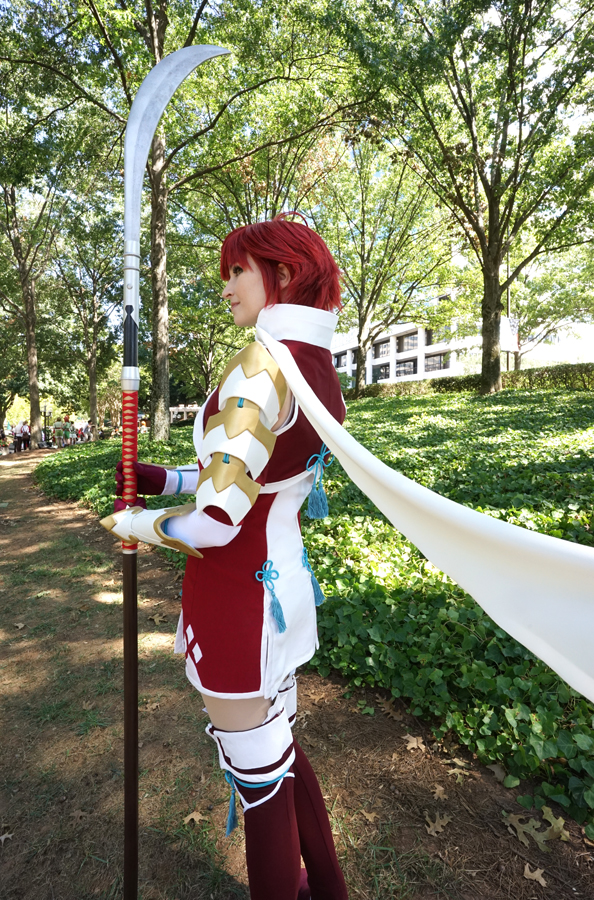
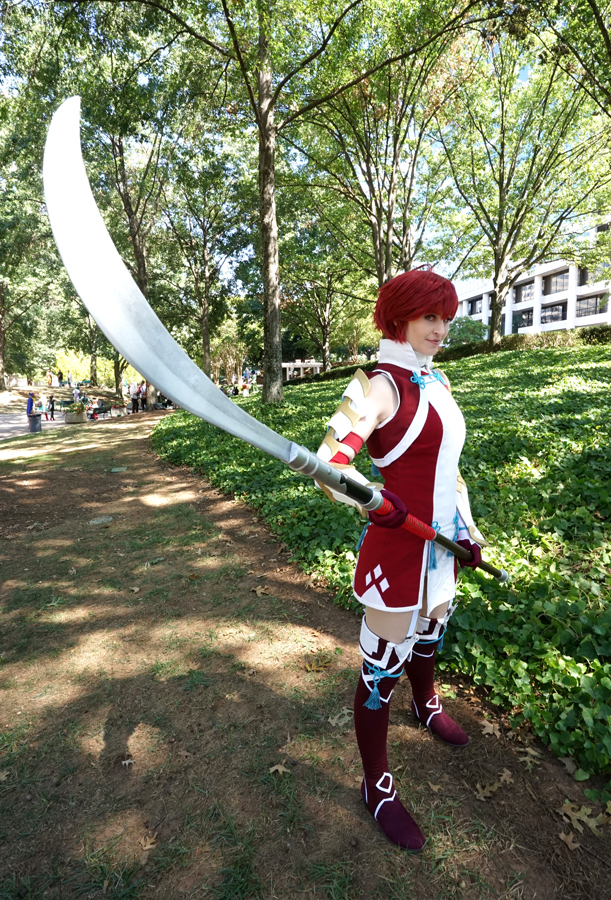
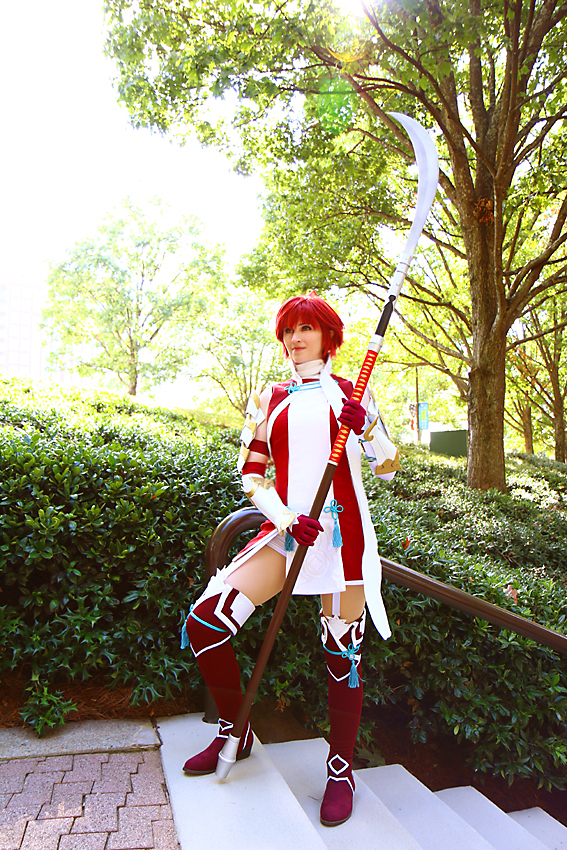
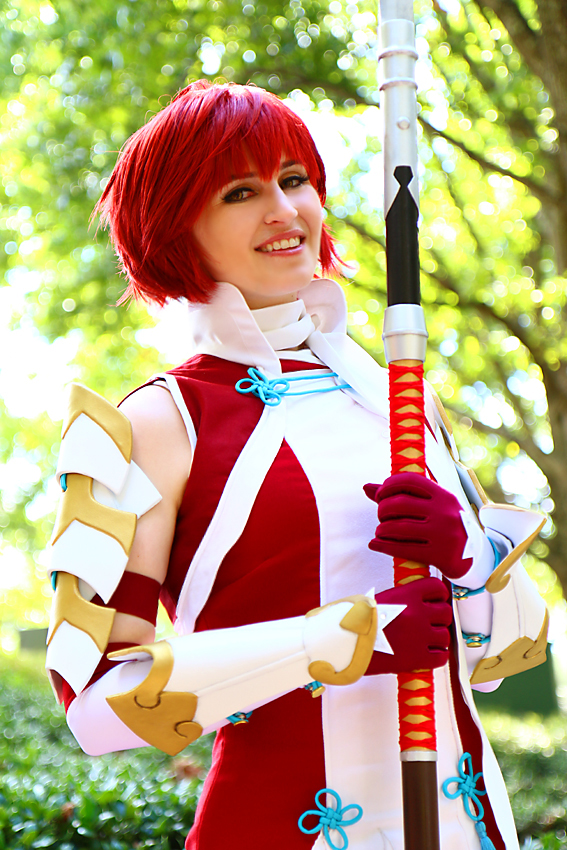
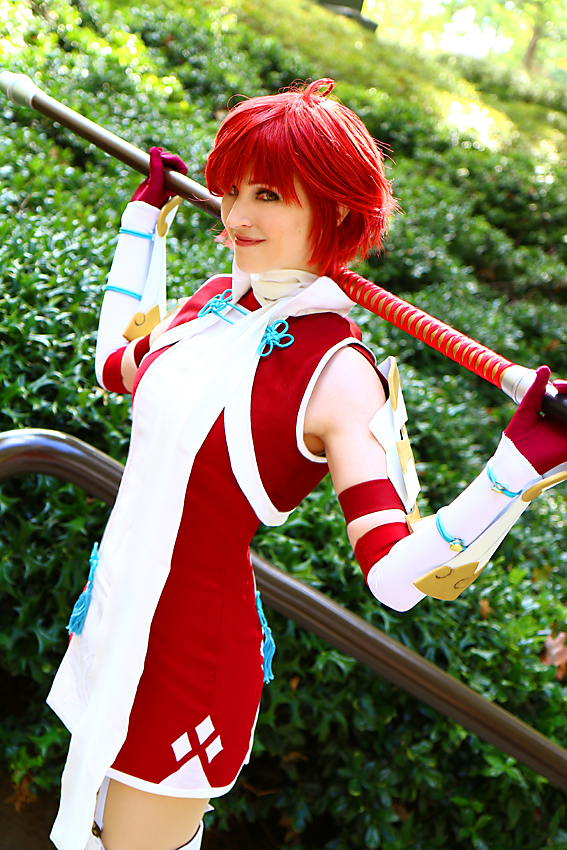
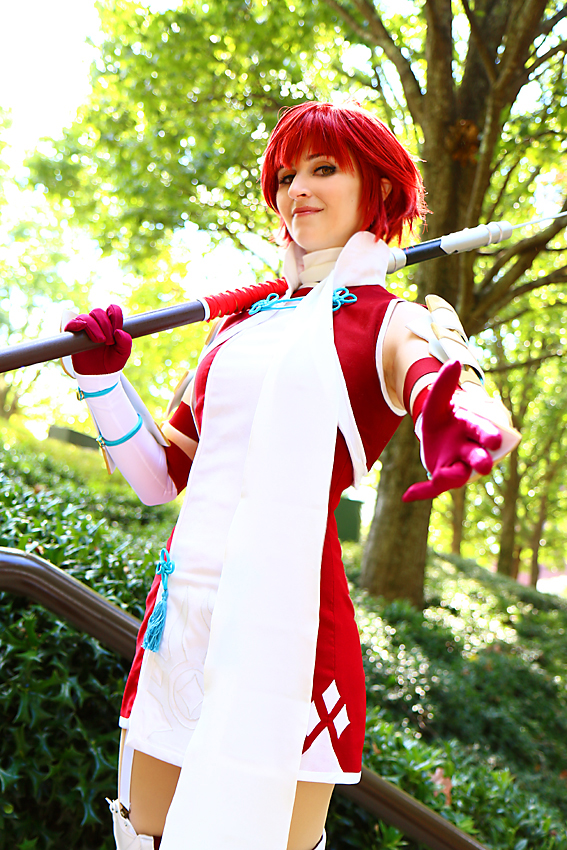
Materials/Construction Details: Though I only had about two weeks to make this costume, a ton of work went into it. The dress and bolero jacket are made of suiting, stretch sateen and suede. Many parts of this costume entailed white on white details, so I got creative using different textures, dimension, and light silver embroidery to differentiate the layers. Most of the white parts of the costume are made of suede, but when I wanted to add a detail like the bias tape trim or piping along the seams of the dress and bolero, I flipped the suede to the slightly shiny backside of the fabric to make it stick out when sewn on top of or next to the other white parts of the costume. I had to make a ton of bias tape for this costume and a majority of it was hand sewn in place to avoid having visible seams.
I learned several new techniques while working on this costume, which made it a lot of fun. The four loop cloverleaf knots seen throughout the costume in turquoise were much more complicated than I ever imagined, but once I had the technique down I really enjoyed making them. I also had to learn how to make tassels out of embroidery floss.
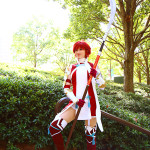
The boot covers were very time consuming to make because of all the tiny bias tape details, but I was able to find a stretch fabric in the right color, which made them a lot easier to put together. I only added interfacing to the cuffed part above the knee. Patterning these was a little tricky. I actually wrapped one of my knees and ankles in duct tape to get an idea for the basic pattern. I purchased burgundy ankle boots for the base and the boot covers actually work more like thigh highs with a stirrup that snaps closed under the boot.
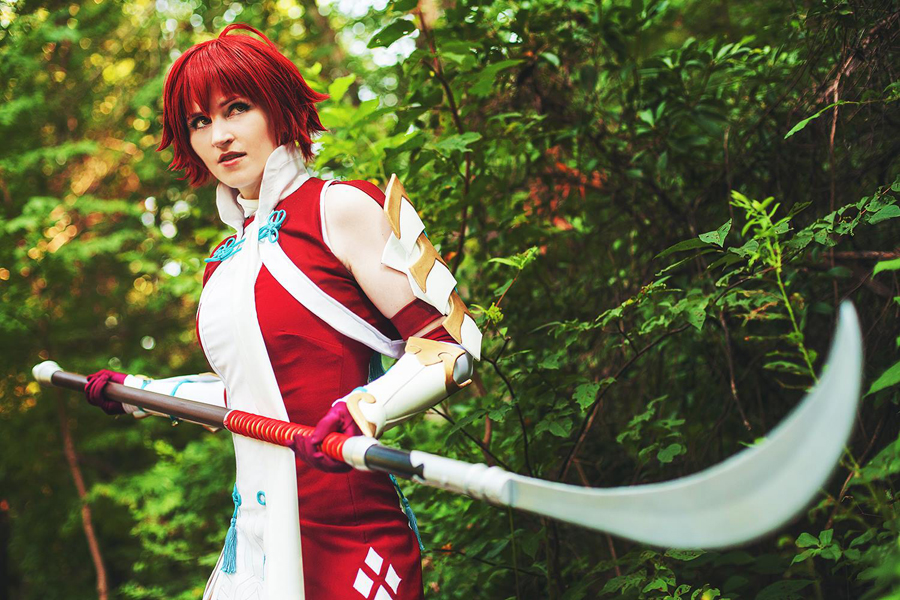
Once I had all the sewing done, I moved on to the armor. I first figured out the patterns for the shoulder pieces and bracers on paper and then cut them out of craft foam. I used black worbla to sandwich the foam pieces and then heat formed it into the right shape. I spray painted all the pieces white and then hand painted on the gold details. That was the easy part. Figuring out attachments was much harder.
The bracers do not sit flush against her arm, so I added velcro to the inside of the bracers and along the gloves so that they would stick on and be secure, but still have that raised effect. The turquoise cord that is supposed to be holding her bracers in place is just attached to the gloves and sits under the bracers when attached.
Her shoulder armor is made up of four individual pieces. There is a base piece that sits securely against my arm which the top three pieces are attached to using cording threaded through holes in the armor. A dark red strap is glued to the underside of this piece. One end of this runs up the top of the shoulder and attaches to the armhole of the dress. At the other end of the strap is a loop that fits around my upper arm to help hold the armor in place.
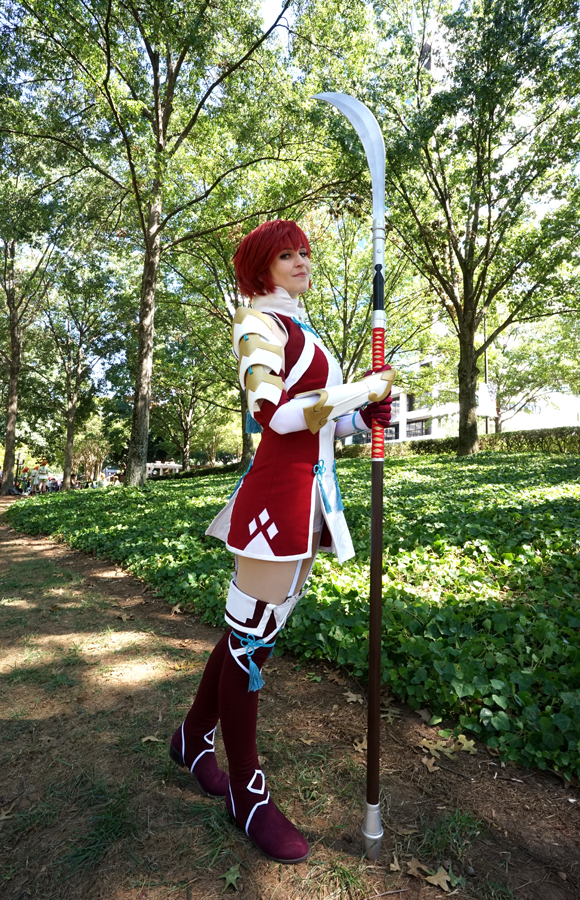
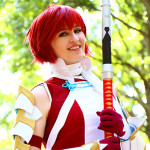
Wig: I used Epic Cosplay’s Aphrodite wig in dark red. The wig already had great layers cut into the back that I just had to style a bit, but the front required a lot of trimming and layering.
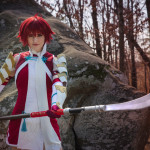
Prop: I didn’t leave myself much time to make Hinoka’s naginata. In fact, the whole prop was put together in just two days with help from my husband. The pole of the naginata is made from wooden dowels. The blade was cut out of a piece of thin wood and then sanded so that the edges came to a point. The rest of the dimension on the blade was faked using shadowing/highlighting painting techniques. Worbla was used to make many of the details on the pole and we also got creative with some plastic shot glasses to make the knobbier parts of the prop. Once everything was painted, my last step was to add the red tsukamaki wrap to the grip of the weapon. I didn’t have time to acquire the traditional ito, so I used ribbon instead. I learned the wrapping technique from watching a couple youtube tutorials. I was amazed at how fast this prop came together and I loved posing with it!
Photos by World of Gwendana, Brian Boling, Eurobeat Kasumi Photography, Lionel, and Collin Lykens
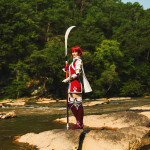
-
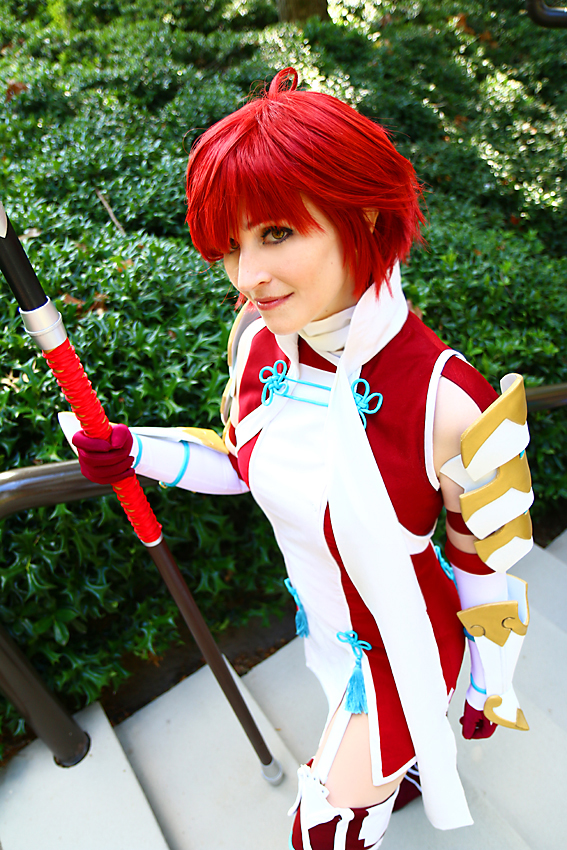
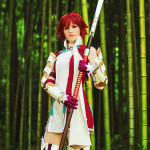
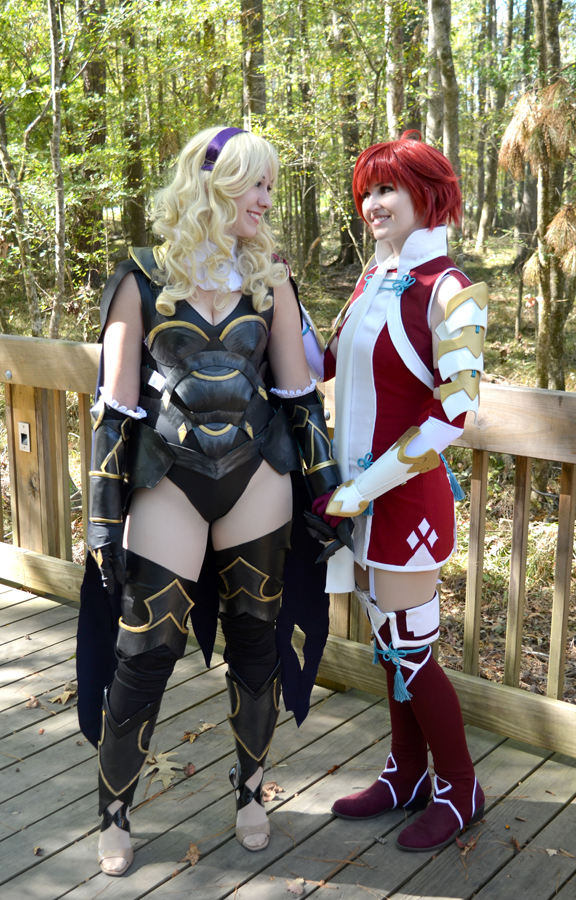
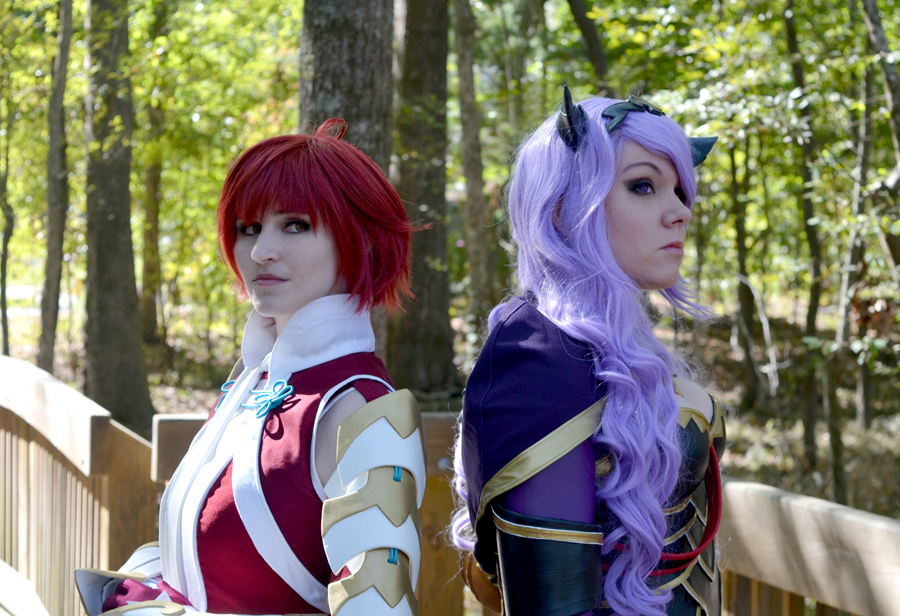
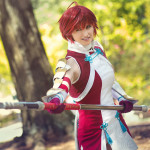
- Photo by The World of Gwendana
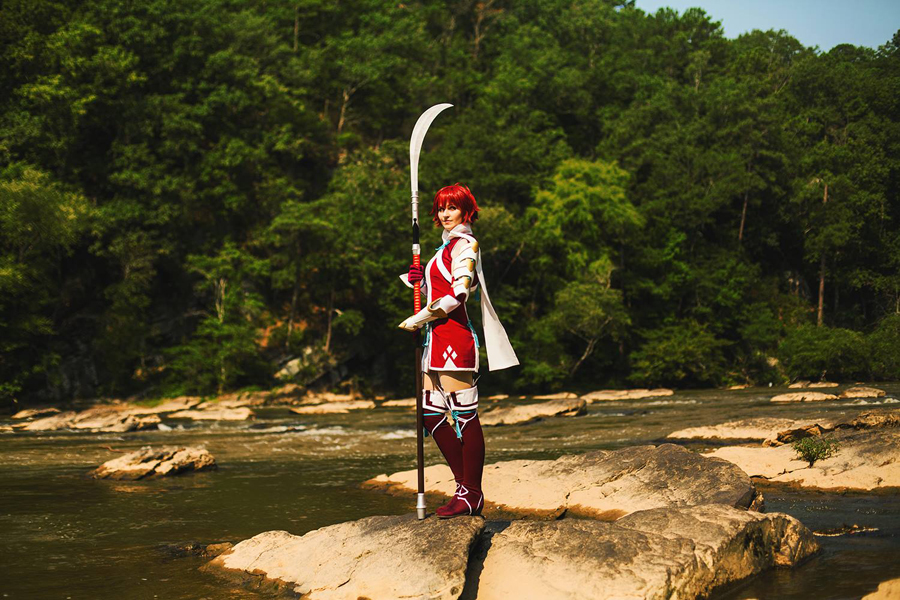
-
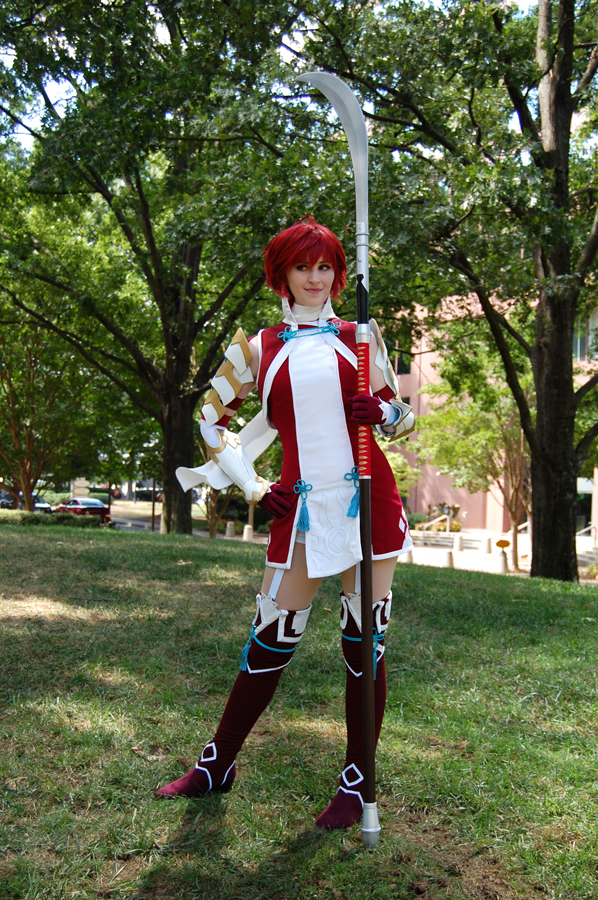
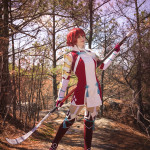
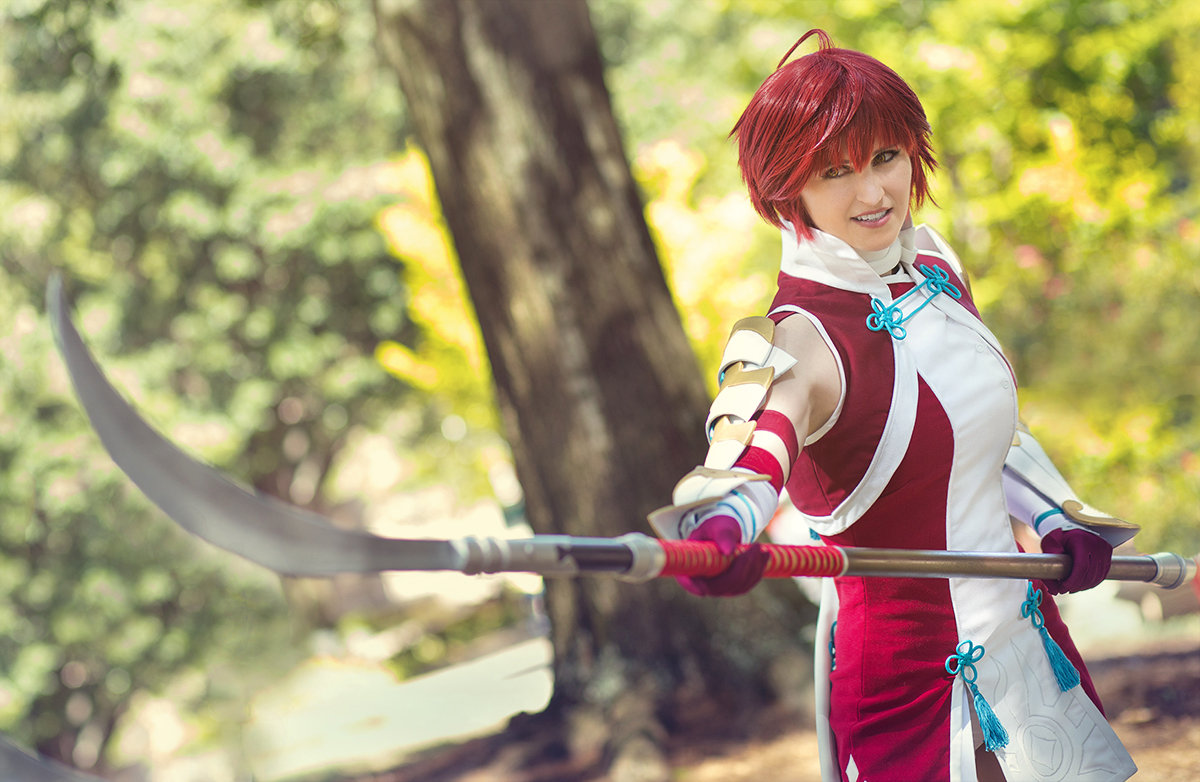
- Photo by The World of Gwendana
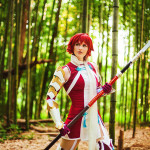
-

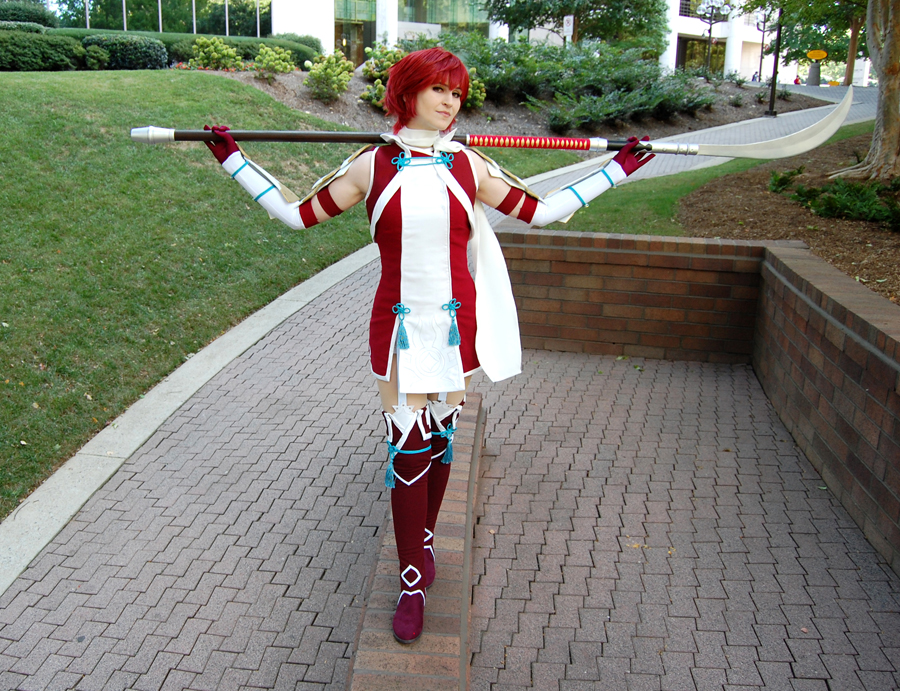
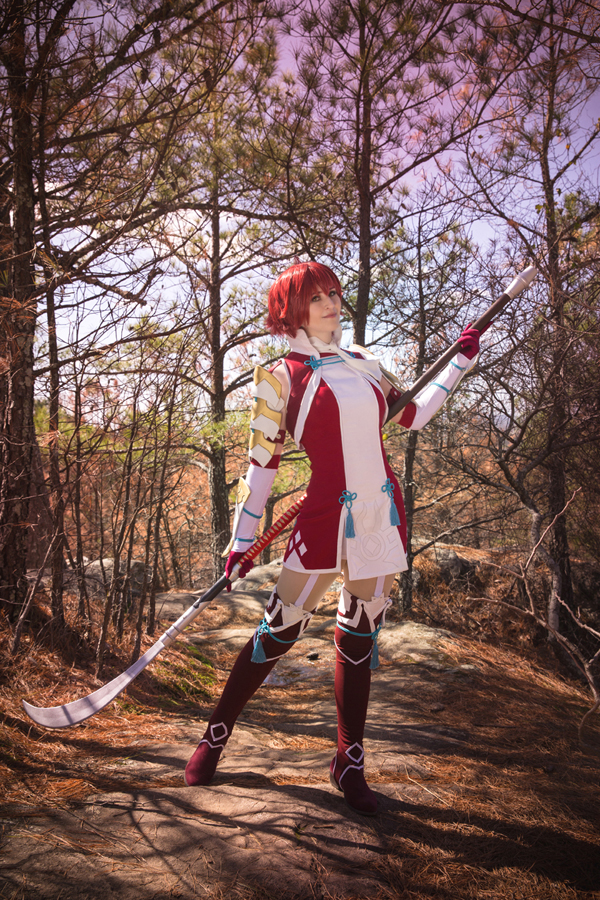
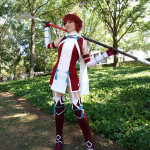
- Photo by The World of Gwendana
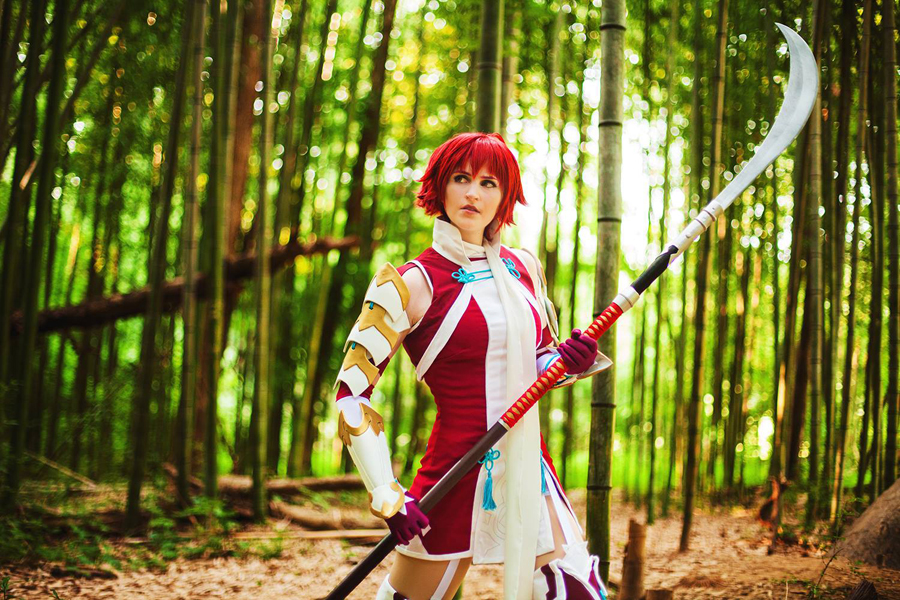
-
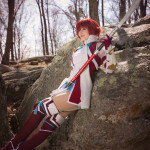
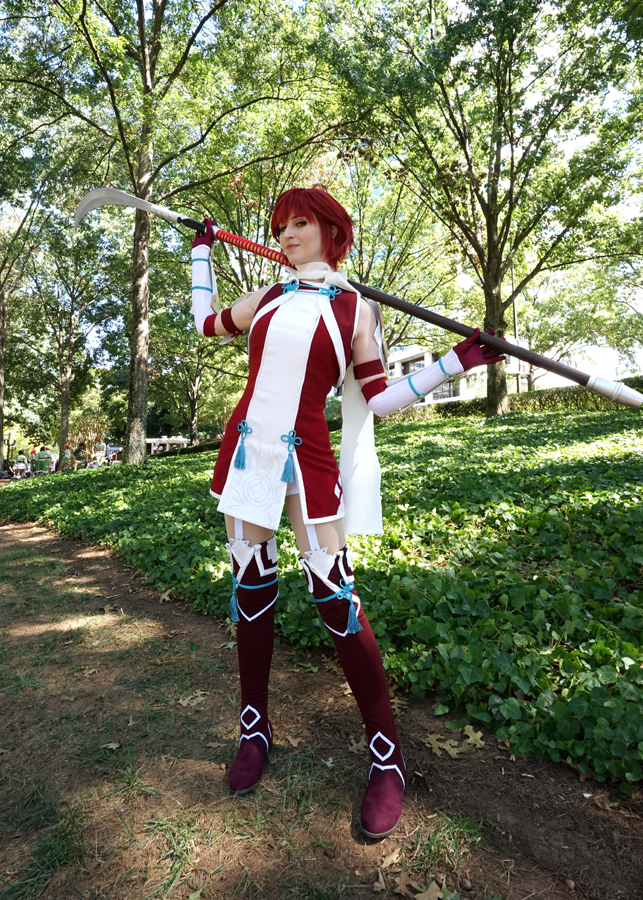
- Photo by The World of Gwendana
-
- Photo by The World of Gwendana
-
- Photo by The World of Gwendana

-
- Photo by Brian Boling
-
- Photo by Brian Boling
-
- Photo by Brian Boling

-

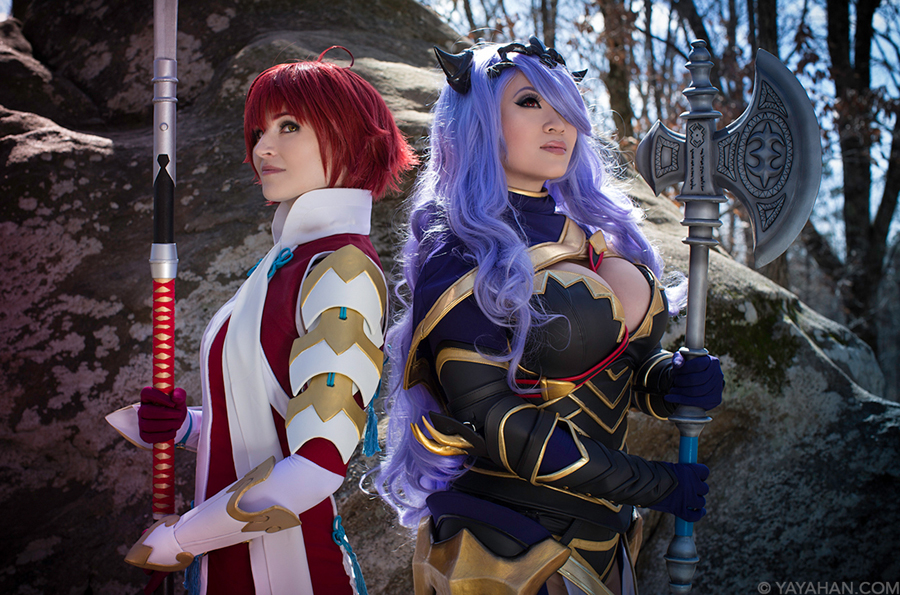
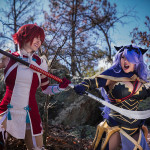
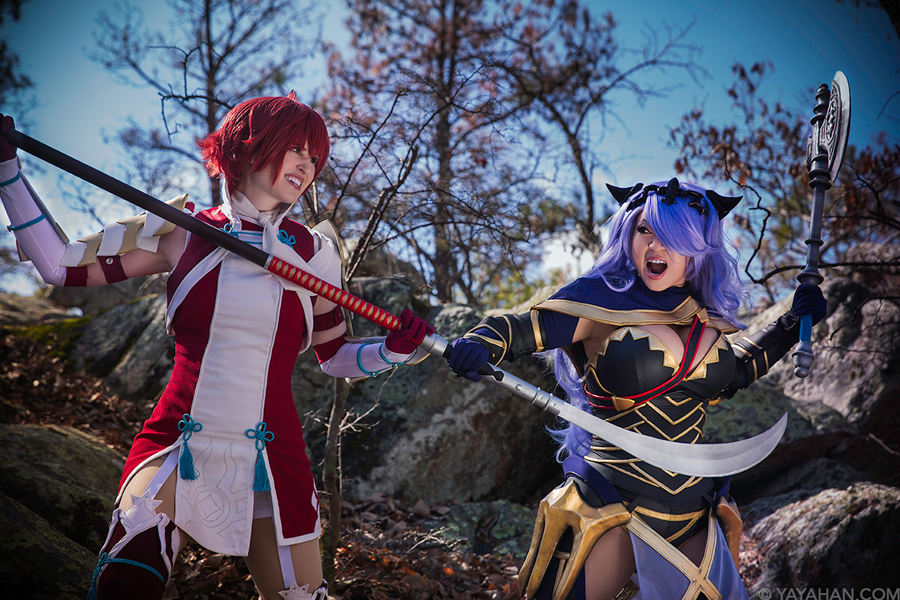
- Photo by Brian Boling Camilla by Yaya Han
-

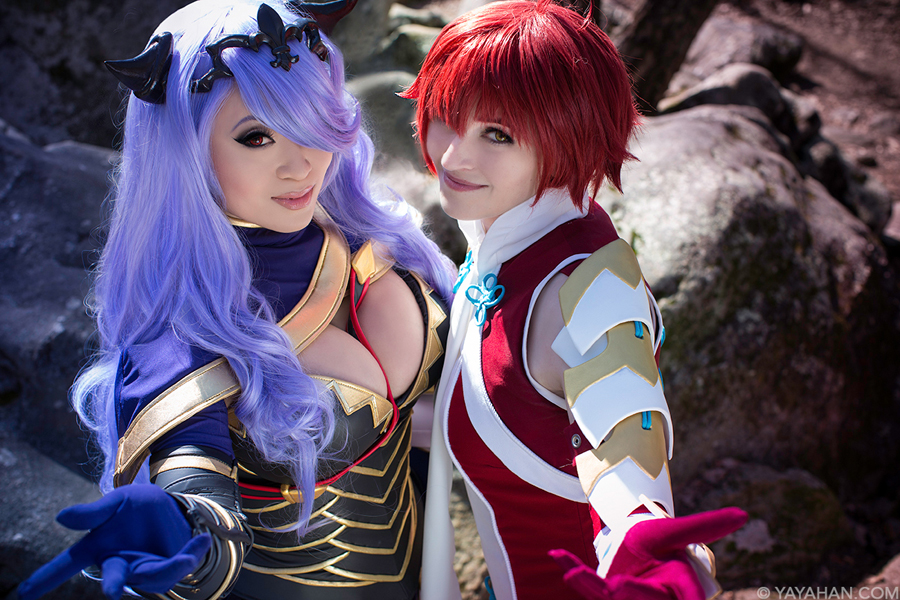
- Photo by Brian Boling Camilla by Yaya Han
-
- Photo by Brian Boling Camilla by Yaya Han
-
- Photo by Ken AD Photography
-
- Photo by Eurobeat Kasumi Photography
-
- Photo by Eurobeat Kasumi Photography
-
- Photo by Eurobeat Kasumi Photography
-

- Photo by Eurobeat Kasumi Photography
-
- Photo by Lionel
-
- Photo by Lionel
-
- Photo by Lionel